• Pardon the dust while the boys rebuild the site.

    The board will be in a state of disarray as I get things sorted out, for a little while at least.

    The new incarnation is using Xenforo as the system software. It is much like what we are used to, with a few differences. I will see about making a FAQ to help point out the differences for the members.


    One IMPORTANT difference for all of us old timers is that the 'mail' system is replaced with what are called 'conversations'/

    There is no 'Inbox' or 'Out box' or 'Sent' folders anymore.

    Think of Conversations as private 'threads' or topics that don't exist in a forum, that you start with another member. NOTE: Conversations can include more than one member if you or someone else in the conversaion, likes.
    Takes a little getting used to but I am sure you all can get a hang of it.


    Only a slightly modified default default Xenforo style is available for now. Once the new SAG style is ready it will be available.

    All existing users should be able to login with their usernames and passwords once the site goes up.


    If anyone has difficulties logging in please contact me at sixthvanguard@gmail.com.


    Thank you for your support and patience. I know it has been a loooong road.

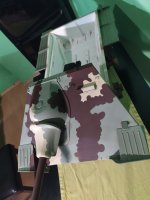
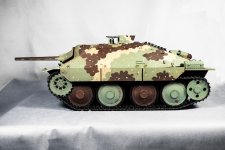
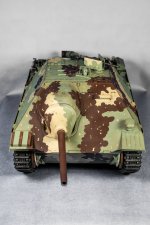
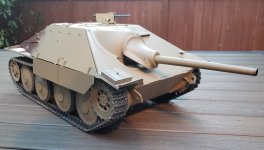
3D printed RC Hetzer

warprints

Rifleman
Hi.
I'm new here, I'd like to show you some of my work.
I've only done 1/16 scale for a few years but always liked the large models.
Bigger is better.

So I decided to try something bigger as well.
I did Hetzer in 1/16 scale first.Since I do all my 3D models in real size (1/1) first and then scale down and possibly take away details so it was no problem to use that base model for 1/6 size and give it a try.

The only downside to this first model was that I used the 1/16th scale part divisions from the original model, which created a major limitation - the basic body parts are very large and require the largest 3D printers to produce them.
I changed this only with the second model, which is divided into parts differently than the 1/16 version and can be made on standard printers.

I always design everything as RC from scratch.
I never spare on materials and the parts are robust and designed in such a way that there is no need to replace, for example, the lower hull with a metal one.
There is no twisting of the hull when driving.

All mechanical parts can be disassembled for servicing or maintenance.
The cannon and machine gun can be uninstalled in a minute for transport in the car.

Hetzer is usually around 14kg (31lgs) without battery.

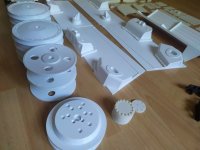
The propulsion system is always all metal.In 1/6 scale it is not possible to use plastic parts as for example in 1/10 scale.
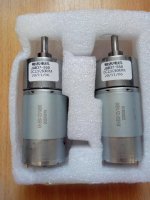
Hetzer has 550 size engines with metal gearing.
The motor shaft is directly connected to the sprockets.
Some people don't like this solution very much, but I haven't had any bad experiences with it.
The same way those little electric cars for kids are designed and they handle it without any problems.
IMG_20201124_124553791.jpg

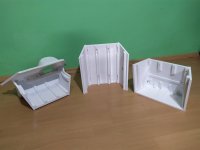
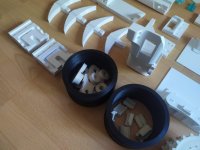
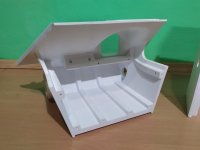
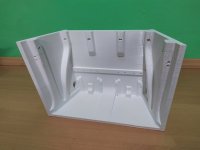
As I was saying, the parts are massive.
The parts are glued together and at the same time connected by bolts and nuts.
The screws strengthen the joint, but at the same time make it very easy to glue and align the parts correctly.
IMG_20201225_202017.jpg

IMG_20201225_202040.jpg

IMG_20201225_202006.jpg

IMG_20201225_202144.jpg


IMG_20201225_202120.jpg
 
The roadwheels have rubber parts like the original.
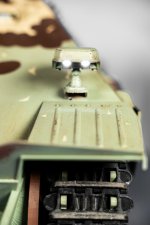
The tracks are from ASA.
I have very good experience with them and they are strong enough.IMG_20220621_143339.jpg
IMG_20220621_143347.jpg

IMG_20220621_143526.jpg

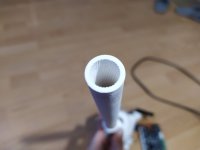
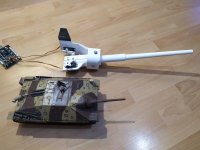
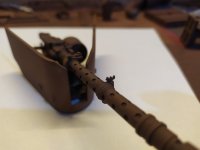
One of my favorite parts - a cannon with a realistic bore.
The count and pitch is done according to the real bore.

IMG_20201207_015945.jpg
 
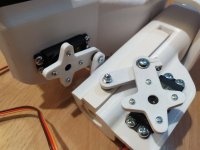
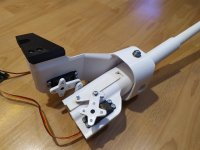
The cannon is moved by a 995 servo and arms, which I preferred to gears.

Unlike gears, the movement of the arms can be controlled by their precisely calculated length.
In this case, there is no need to limit the servo movement by software.
The arms are equipped with bearings.
There are bearings everywhere.

IMG_20201207_015841.jpg

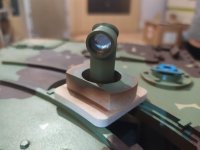
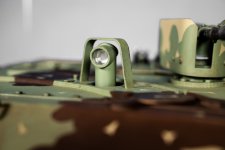
The black part is used to move the "eye of the gunner" - the periscope on the roof.

IMG_20201207_015817.jpg

Canon compared to Hetzer in 1/16 scale.

IMG_20201207_020045.jpg

The front light (notek) is equipped with two 5mm LEDs.

IMG_20211123_211334.jpg

IMG_20211123_211448.jpg

IMG_20211123_211518_1.jpg

There are three 3mm LEDs in the rear light.

123769861_4005196012904715_1339519469713268193_o.jpg
124024614_4005196206238029_224297894611469951_o.jpg


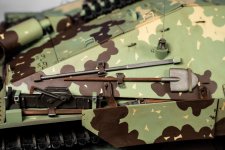
There are also some interesting details on the lower hull such as a jack or a box.

IMG_20210220_183047.jpg

IMG_20210220_183104.jpg
 
IMG_20210220_182903.jpg

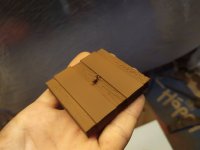
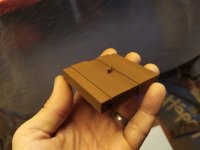
The wooden base under the jack is plastic, but at least I tried to make it resemble wood a bit.

IMG_20210220_182930.jpg

IMG_20210220_182938.jpg
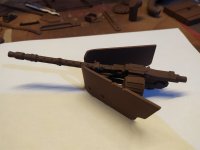
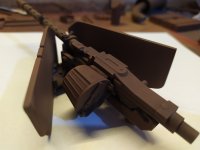
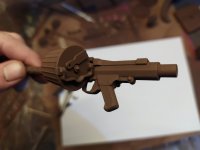
On the roof, of course, is the MG34.
The version without the stock, because it just belongs there.

IMG_20210220_182144.jpg
IMG_20210220_182209.jpg
IMG_20210220_182236.jpg
IMG_20210220_182455.jpg
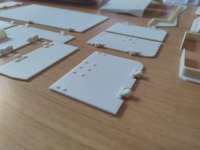
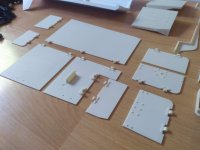
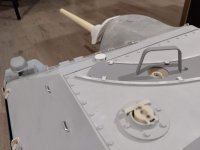
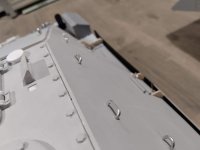
Hatches and all other flat parts are smoothed using the "ironing" function.
I always try not to let the imperfections of 3D printing such as layers or nozzle marks be visible.

IMG_20220621_143445.jpg

IMG_20220621_143450.jpg
 
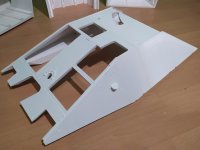
Construction of the first model - as you can see, the front armour is one big piece.

IMG_20210222_194417.jpg

IMG_20210222_194534.jpg

" Gunner's eye" - moves in a groove hidden inside the part.

IMG_20210327_030141.jpg

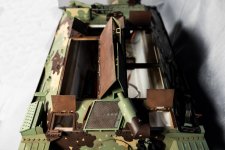
Upper hull:

IMG_20210201_062536.jpg

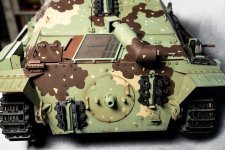
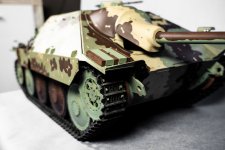
And here is fully assembled model:

9 - WSZ8bDu.jpg

15 - Zb3GSv7.jpg

21 - PL2SEWg.jpg

27 - 9wzJCv2.jpg

29 - 8lJkn7C.jpg

31 - VGxxRvT.jpg
 
2 - Mik5iQR.jpg

4 - qJOE9Sm.jpg

16 - nvCJbdd.jpg

28 - b2P7wZz.jpg

I learned a few new tricks and made some minor tweaks while building my latest Hetzer in December 2023.
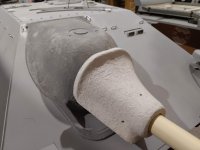
Texture on "Saukopf".


IMG_20240102_113519.jpg

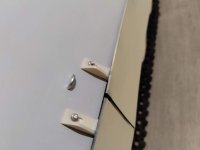
Metal parts for mounting "Schurzen".

IMG_20240102_113847.jpg


Here you can see the magnets for mounting the machine gun.
It's there for safe transport in the car.

IMG_20240102_113657.jpg


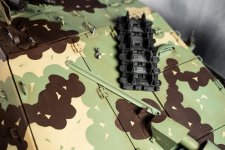
Metal handles.I always use those.
3D printing is not very suitable for this.

IMG_20240102_113840.jpg

Some videos:


Thank you guys.

Yes, Squidley, i do these for the sale as well.
I will add proper post in the "Maintenance Battalion" section soon.
 
Will you be offering them without all the internal mechanics? I would like to have a Hetzer just for display purposes.
Bob
 
Wow, that is simply amazing work all-round...and all that from 3d printing...most envious of your skillset aside from my dream of one day having a Hetzer in my collection. Great paintwork also. Tanks...er...thanks for sharing, Steve
 
Thank you very much, SteveKrieg.
Trying to do my best and still improving my skills.
Will you be offering them without all the internal mechanics? I would like to have a Hetzer just for display purposes.
Bob

Yes, i can do it without mechanic parts.
There are "dummy" bearings and other parts (dummy servo for MG, for the example) for this purpose and internals removed in the static kit version.
And the static version weighs less because it doesn't need as much infill.
 
Specific question regarding the "handles" that you have studding the vehicle in many places. Are these printed also, or are they parts from somewhere? Most everything seems to have some version of them. I'm wondering if you know of an inexpensive source.

Thanks.
 
There are 4 types/sizes of these handles on Hetzer.
Two on hatches and two on the sides of the vehicle.
They can be printed, but they are not nice when printed, so i make these from wire.
So its a hand-made part.
I dont know about any source of these and i doubt about existence of some inexpensive source for them.
Its a specific size and shape.
 
Thank you.
2mm (5/64 ″)
I used hard steel for the first few kits but now i use TIG ALSI5 aluminium rods which are intended for welding.
They are much easier to bend and i use these for the track pins as well.
They are strong enough, easier to cut and lightweight.
 
Back
Top