• Pardon the dust while the boys rebuild the site.

    The board will be in a state of disarray as I get things sorted out, for a little while at least.

    The new incarnation is using Xenforo as the system software. It is much like what we are used to, with a few differences. I will see about making a FAQ to help point out the differences for the members.


    One IMPORTANT difference for all of us old timers is that the 'mail' system is replaced with what are called 'conversations'/

    There is no 'Inbox' or 'Out box' or 'Sent' folders anymore.

    Think of Conversations as private 'threads' or topics that don't exist in a forum, that you start with another member. NOTE: Conversations can include more than one member if you or someone else in the conversaion, likes.
    Takes a little getting used to but I am sure you all can get a hang of it.


    Only a slightly modified default default Xenforo style is available for now. Once the new SAG style is ready it will be available.

    All existing users should be able to login with their usernames and passwords once the site goes up.


    If anyone has difficulties logging in please contact me at sixthvanguard@gmail.com.


    Thank you for your support and patience. I know it has been a loooong road.

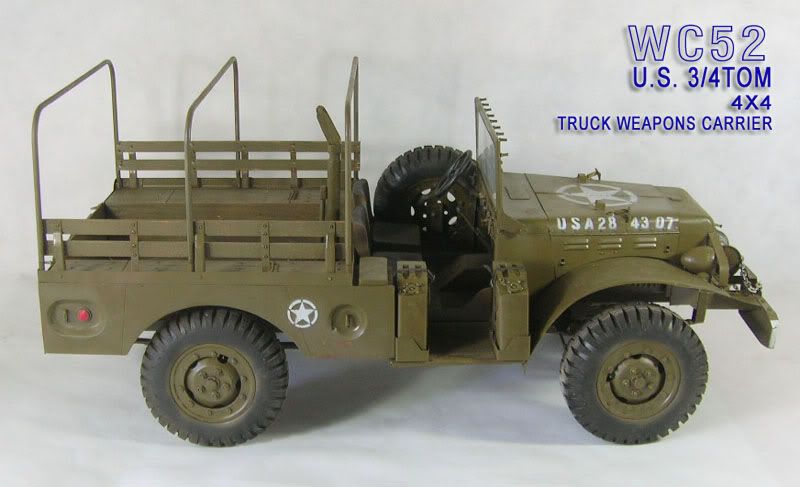
Dodge WC 52 Red Ball Express

Sixth sense

Rifleman
My workshop guys recently found a new restoration project.. an old Red Ball Express Dodge WC52 / Red Ball Express, 514th Quartermaster Group.

http://www.youtube.com/watch?v=PKRNYKoIEj0


RedBallExpress.jpg


wc51-02_zpsqlemigtp.png


wc51-04_zpsnqkcurtf.png


The wheel seems to be in working order... :D

wc51-01_zps3h1xqlnm.png


wc51-03_zpsfnpvxwee.png


To be continued....
 
Very cool. I like the angle you've taken in the first few photos too! Many restoration projects start from finds like that.

EDIT: I just watched the YouTube clip posted. Very cool Signal Corp film reel about the Red Ball Express! Thanks for including it!

Looking forward to seeing more!

Fred
 
Last edited:
My friend and I started this project with an 1/6 Taowan Dodge WC 52 model. It's a static model so we (my friend and I) had the idea to make it RC. The frame is nowhere near the real thing so we stripped the whole model. We'll keep the body and make a new 4wd frame, based on the original drawings from the manual.

wc52-3.jpg


The first task was to gather information about the model. With the help from the Internet we've found books, restoration stories, pictures and the original Technical Manuals.

TM9808_zpsss8f0h4x.jpg


frame2%20copy_zpsqn8g3opd.jpg


Visits to a museum and a 1:35 model were also great for reference
DSCF1923_zpsfab6fxa4.jpg


DSCF1921_zpss2eyvx6g.jpg


DSCF1922_zpsbwosoqtx.jpg


We blew up the frame drawing and used it to draw our own. It is almost accurate. We had to make some small adjustments to fit the Taowan body.

Before we made the metal frame, we draw some parts in 3D and printed them, just to be sure the measurements were accurate.

DSCF1917_zpsrm9ok6tq.jpg


DSCF1920_zpsrdxcsc53.jpg


DSCF1918_zpsq8tkfjwt.jpg


To be sure the frame would not be blended we made a construction from wood to keep everything in place.
DSCF1924_zpssxtxvoda.jpg


DSCF1925_zpsqs9f1f8k.jpg


The beams are made of aluminum.

This is the frame as it is today
DSCF1938_zps5kmedjkp.jpg


DSCF1926_zpsowwycbhj.jpg


The axles were bought from eBay. They are originally for 1:10 scale. We have altered them to fit a 1/6 wheelbase.

DSCF1929_zpsfamssrtm.jpg


DSCF1928_zpsa7sfexpi.jpg


DSCF1933_zpsf0lpxtk5.jpg


The leaf springs are handmade.

DSCF1932_zpsbnunppdy.jpg


DSCF1936_zpspyu9br2c.jpg


the transmission is also a bespoke part.

DSCF1934_zpsmaxjsvqi.jpg


The dodge has a 24 volt motor.

DSCF1931_zps3arqt3te.jpg


New wheels with Taowan tires.

DSCF1939_zpstettuz87.jpg


This covers about 8 months of work.

I'll keep you posted when there are new developments.
 
Absolutely stunning work. I'm super impressed and envious of the skill involved and the materials that you are working with.
Couldn't be cooler.

Scott:shock:
 
Great looking frame and axles! The drivetrain looks stout! This will be a neat vehicle when completed. Thanks for posting,
Bob
 
We've changed the width of the truck to better fit the width of the axles.

One of the rods in the back axle broke when the wheel got stuck. The rod was beyond repair and has been replaced.

DSCF1959_zpsqhcfwrvi.jpg

DSCF1958_zps8ksnicoo.jpg


While waiting for the parts necessaire, we've kitbashed the crew.
And we've designed and printed one of the supplies we'll be putting in the back of the Dodge
It took a bit more than 24 hours to print the parts of the drum.

DSCF1960_zpsmxxxq0sn.jpg


DSCF1961_zpszq0qrux1.jpg


DSCF1962_zpskhi9vjdt.jpg


DSCF1963_zpsu2ls7cub.jpg


DSCF1964_zpsrot6h9nm.jpg
 
We are currently at work on the front end of the Dodge.

Taowan's bodywork needs some correction to make everything fit nicely.

DSCF1972_zpszpevfbby.jpg


The front will hold the audio speaker, disguised as the radiator.

DSCF1971_zpsydybgjty.jpg


DSCF1970_zpsps4o1jyf.jpg


DSCF1973_zpspqxgaxjs.jpg


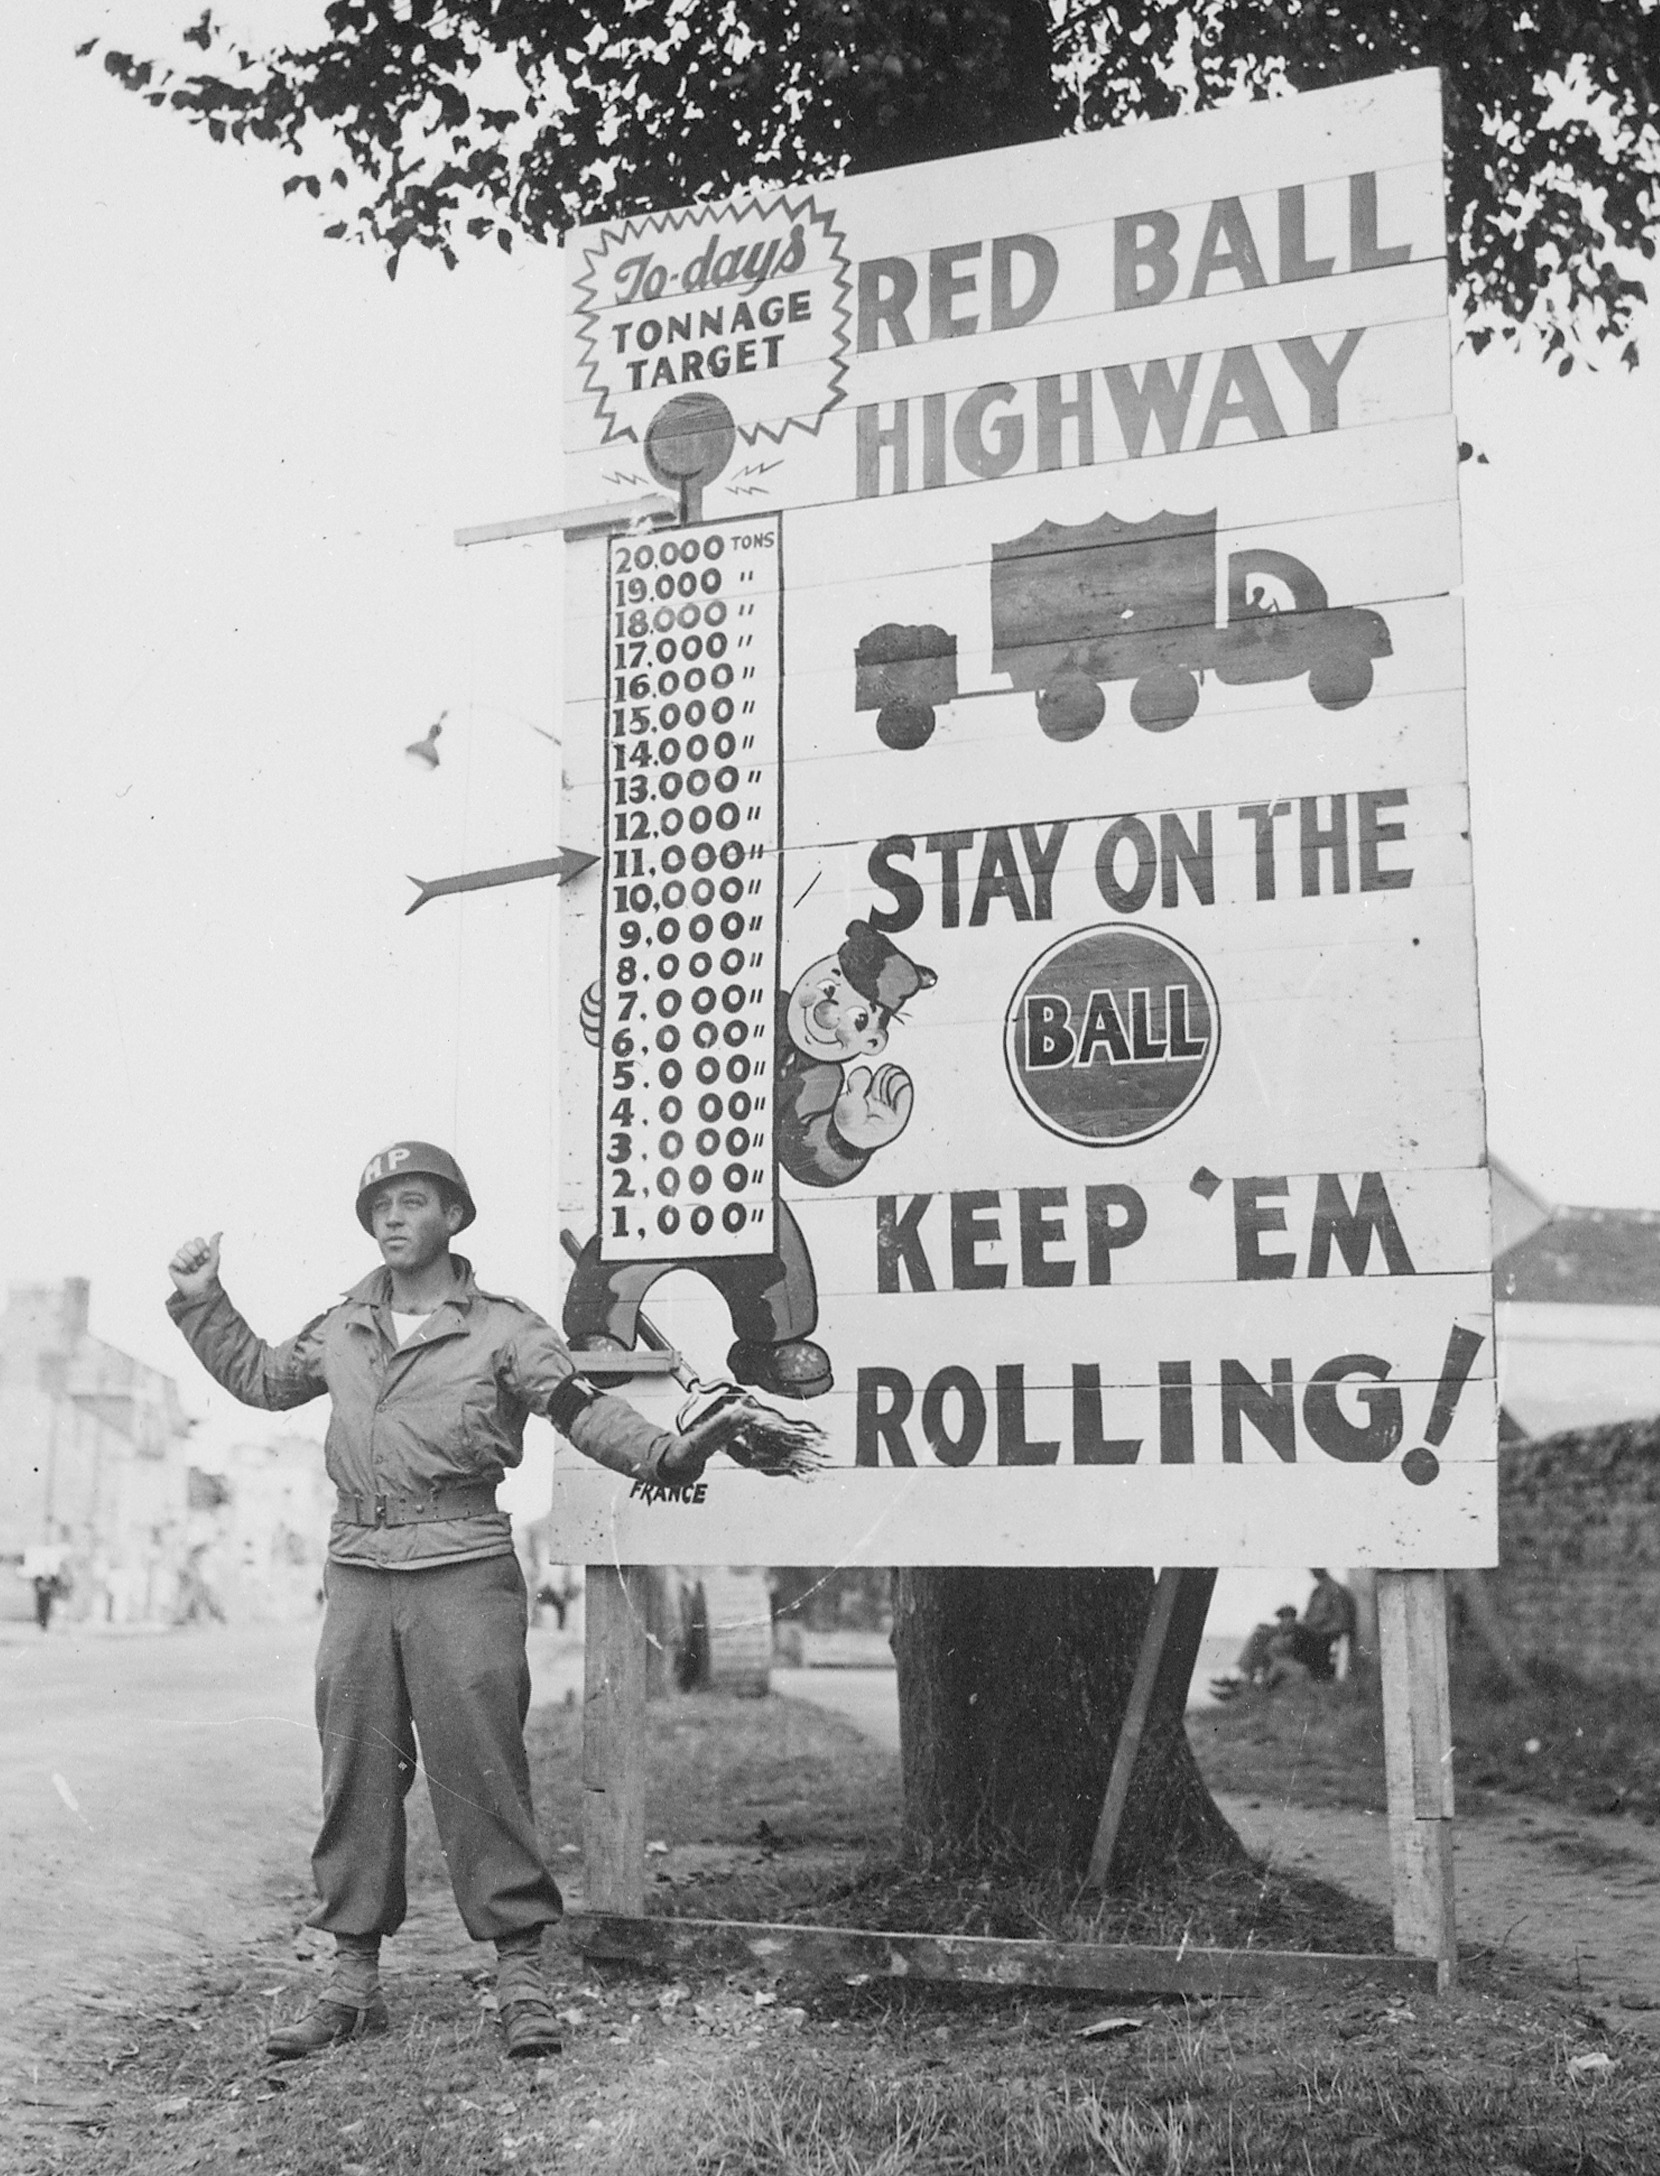
On the 3d side work is coming along nicely. We've designed a new US jerrycan. We didn't like the Dragon US jerrycans. For reference we used this picture, and some other internet pictures.

prenormandy_crop.JPG


Some of the test prints. It took some tweaking before we ended up with one that had the right proportions (according to us, but who are we?)

DSCF1975_zpspholyojh.jpg


A jerrycan takes 4:15 hours to print. The cap takes 11 minutes.
DSCF1974_zpsmiywwtfn.jpg
[/URL]

The final model. This one is stamped US. I'll design one with Q.M.C. stamped on it within the next days
(Quarter masters Corps).

DSCF1966_zpsb8x5ntmd.jpg


It's a nice almost smooth structure. With the right primer, paint and weathering it will look great!

Well... now we can print a truckload of these cans. ;)
 
That's awesome!

The gas can looks sharp! Interesting that it takes a little over four hours to print the majority of the gas can on a 3D printer.

I like the color photo of the T-5 and the gas can stack! Great reference!

Fred
 
The higher the quality / detailing you want, the longer it takes. In maximum quality this model would take over 8 hours. I choose a little lowe quality. With the right primer / paint you get an equal result.
 
The work continues

We've started on a new 'working' windscreen

DSCF1988_zpsge0kwjec.jpg


DSCF1989_zpsgj4idbma.jpg


The engine compartment has been altered to fit most of the electronics

DSCF1990_zpspatnompn.jpg


And the jerrycan pile is growing slowly

DSCF1992_zpseuplahr3.jpg
 
Back
Top