tankme
Rifleman
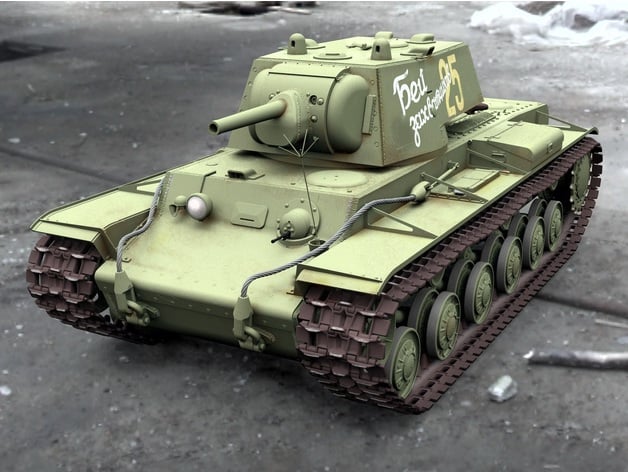
The future of this hobby is already here when a person like me with no CAD skills can download free models of a highly detailed 1/10th scale KV-1, upscale it to 1/6th scale (+166.57%), and print it. The files were designed by someone else so this tank is being produced for my own personal use under a non-commercial license. I would never sell anyone else's intellectual property for my profit.
 www.thingiverse.com
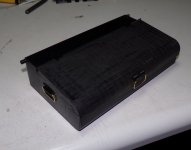
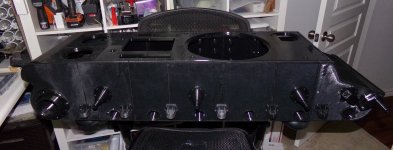
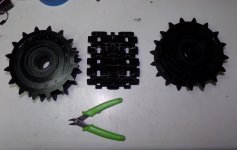
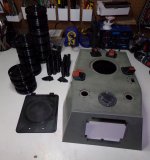
By the time the build is all said and done I will probably have close to 20kg of PETG filament used @$10/kg. Add the electronics to RC it and this build will come in way under $1000 not including the cost of the printer of course. I'm printing on a Bambu Labs X1C which is one of the fastest non-commercial printers on the market today. The lower hull took about 200 hours to print as shown. All parts require post processing by sanding to remove the layer lines, filling, priming, and painting. You can see the result of the post processing on the turret shown in primer. Longer prints are kicked off while I sleep and while I'm at work. It does take some time to figure out how to cut up the pieces to fit on my printer's print bed as it is only 256mm x 256mm x 256mm, but once you figure out that process it's a rinse and repeat until you end up with all the pieces printed. PETG filament can be glued using MEK so putting the parts back together after printing is pretty easy. I'm a little further along in the project than shown, but it's progressing nicely.
Heavy tank KV-1 rc model 1/10 by Salin10
KV-1 tank rc model in 1/10 scale. Turret KV-2 added to things file denior built a prototype. Thank youhttps://www.thingiverse.com/make:1015486 The model is a version from June 1941. Conversion kit for KV-1E.https://www.thingiverse.com/thing:5141763 UPDATE 13.11.2021: Part T47 cannon protection...
www.thingiverse.com
By the time the build is all said and done I will probably have close to 20kg of PETG filament used @$10/kg. Add the electronics to RC it and this build will come in way under $1000 not including the cost of the printer of course. I'm printing on a Bambu Labs X1C which is one of the fastest non-commercial printers on the market today. The lower hull took about 200 hours to print as shown. All parts require post processing by sanding to remove the layer lines, filling, priming, and painting. You can see the result of the post processing on the turret shown in primer. Longer prints are kicked off while I sleep and while I'm at work. It does take some time to figure out how to cut up the pieces to fit on my printer's print bed as it is only 256mm x 256mm x 256mm, but once you figure out that process it's a rinse and repeat until you end up with all the pieces printed. PETG filament can be glued using MEK so putting the parts back together after printing is pretty easy. I'm a little further along in the project than shown, but it's progressing nicely.
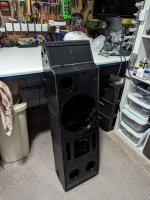


") Still need to do the body work on the lower hull before permanently mounting all the details and priming. Need to get on the lathe and turn some custom bushings first as I can't find any suitable bearings that fit or that I can make adapters for. Just need to get my repaired tool post mounted on the lathe and order a few more sizes of Delrin rod.
Still need to do the body work on the lower hull before permanently mounting all the details and priming. Need to get on the lathe and turn some custom bushings first as I can't find any suitable bearings that fit or that I can make adapters for. Just need to get my repaired tool post mounted on the lathe and order a few more sizes of Delrin rod.