• Pardon the dust while the boys rebuild the site.

    The board will be in a state of disarray as I get things sorted out, for a little while at least.

    The new incarnation is using Xenforo as the system software. It is much like what we are used to, with a few differences. I will see about making a FAQ to help point out the differences for the members.


    One IMPORTANT difference for all of us old timers is that the 'mail' system is replaced with what are called 'conversations'/

    There is no 'Inbox' or 'Out box' or 'Sent' folders anymore.

    Think of Conversations as private 'threads' or topics that don't exist in a forum, that you start with another member. NOTE: Conversations can include more than one member if you or someone else in the conversaion, likes.
    Takes a little getting used to but I am sure you all can get a hang of it.


    Only a slightly modified default default Xenforo style is available for now. Once the new SAG style is ready it will be available.

    All existing users should be able to login with their usernames and passwords once the site goes up.


    If anyone has difficulties logging in please contact me at sixthvanguard@gmail.com.


    Thank you for your support and patience. I know it has been a loooong road.

Armorpax's 25 Pounder

armorpax

Battalion Commander
Hi All,

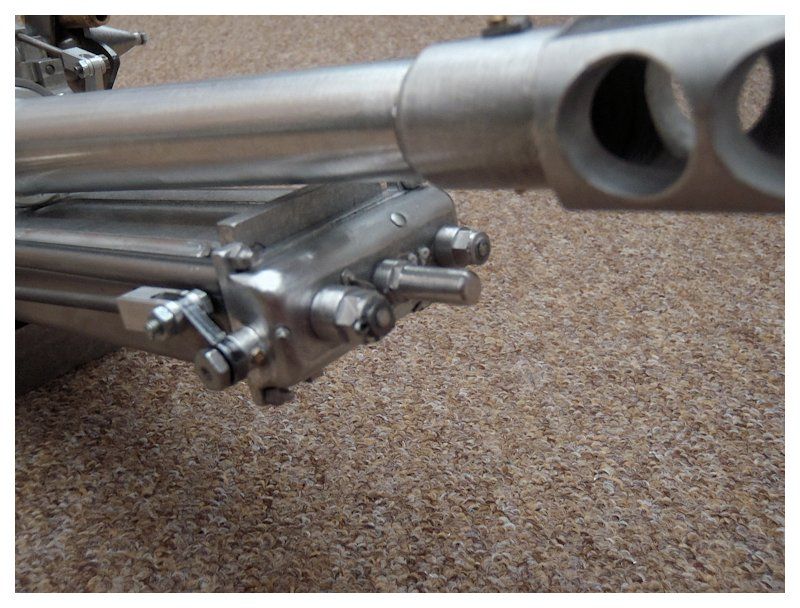
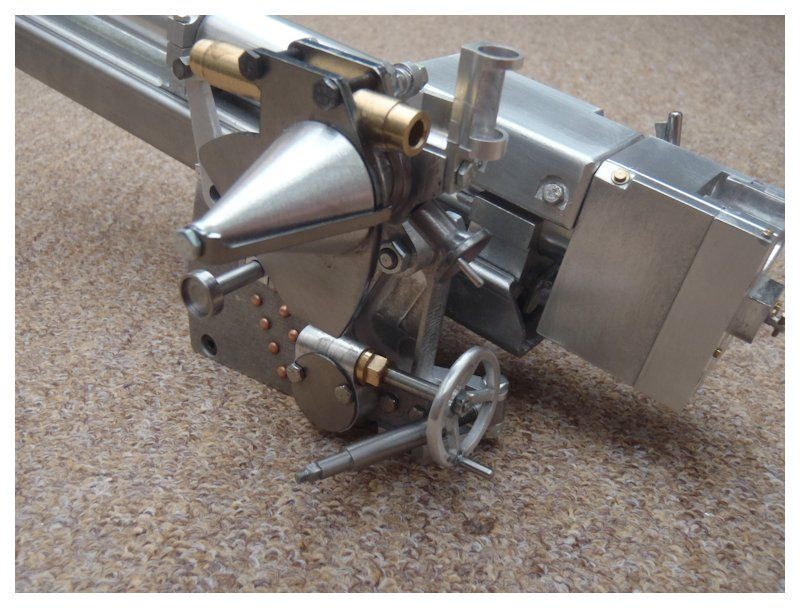
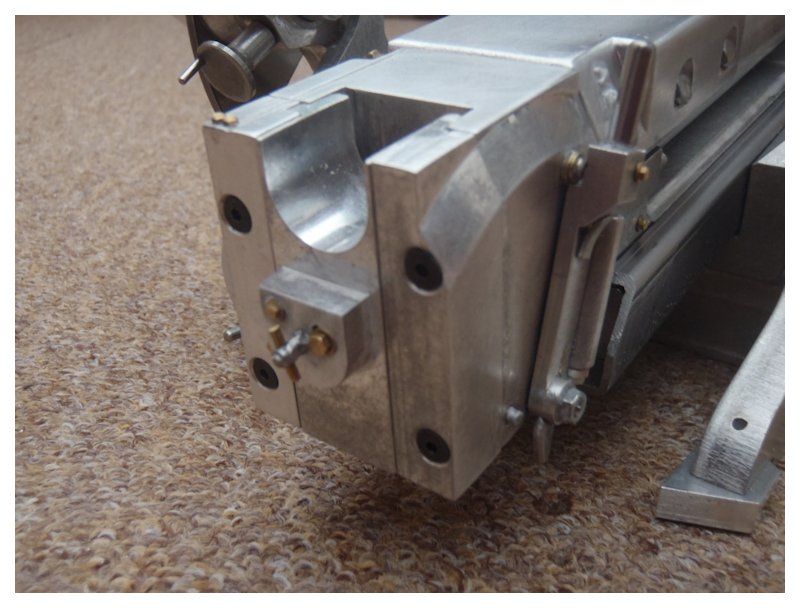
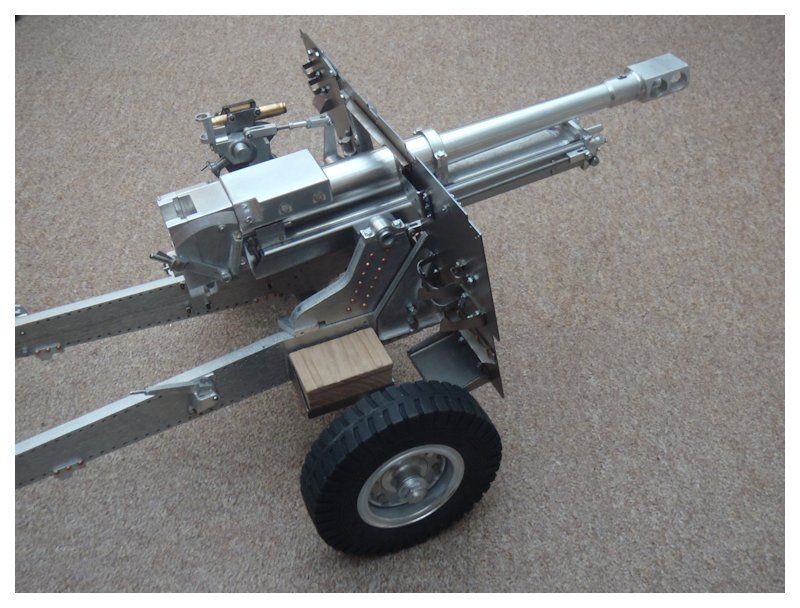
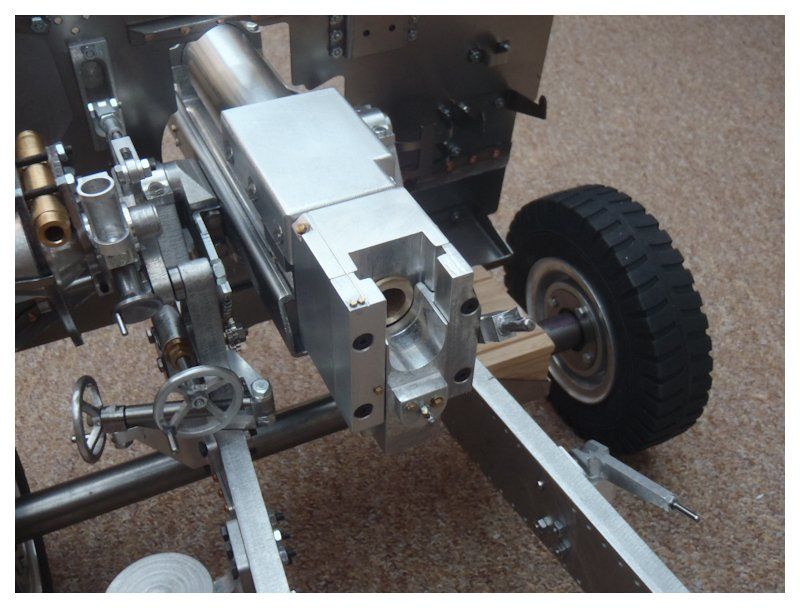
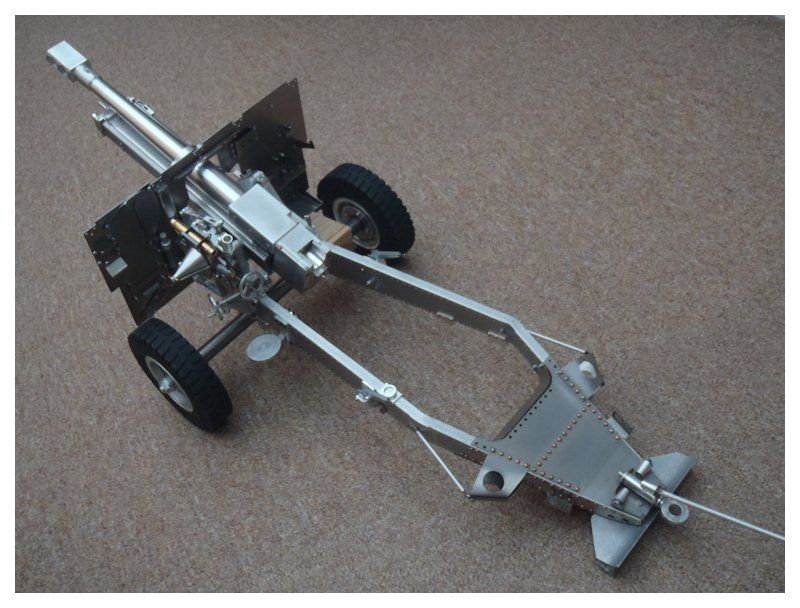
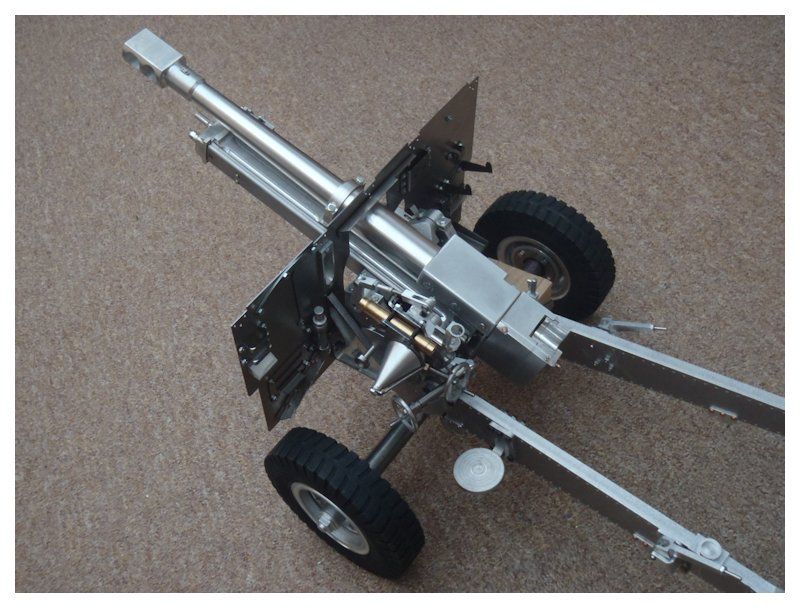
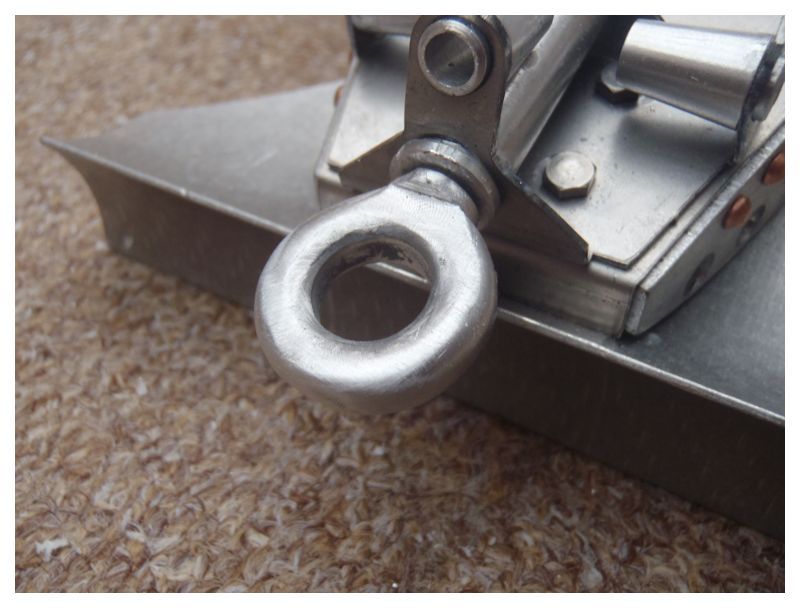
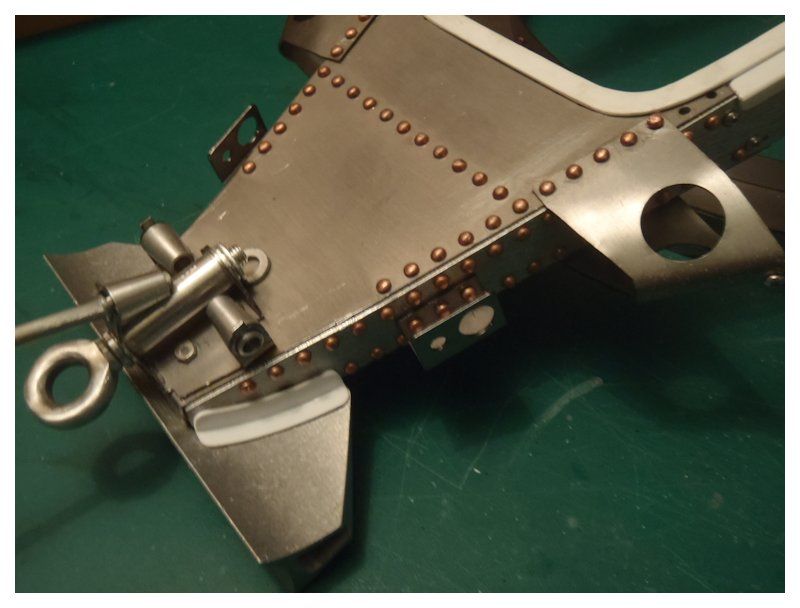
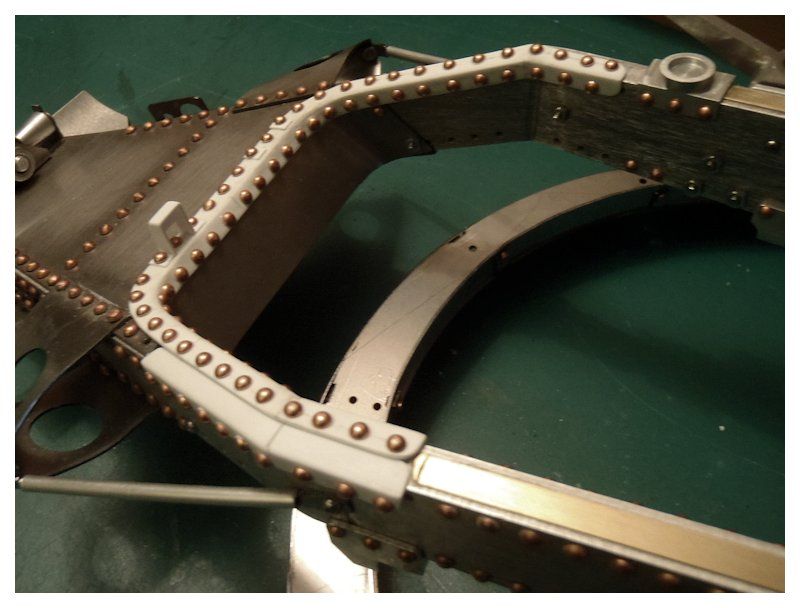
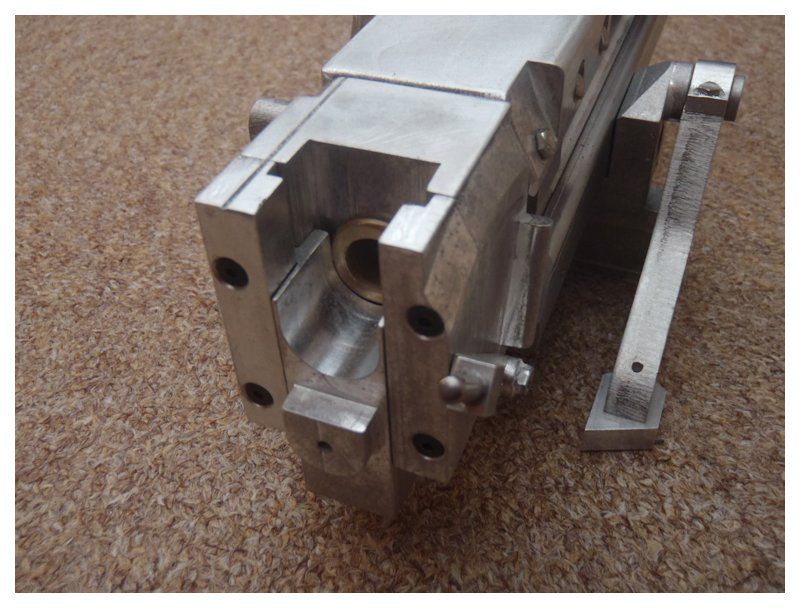
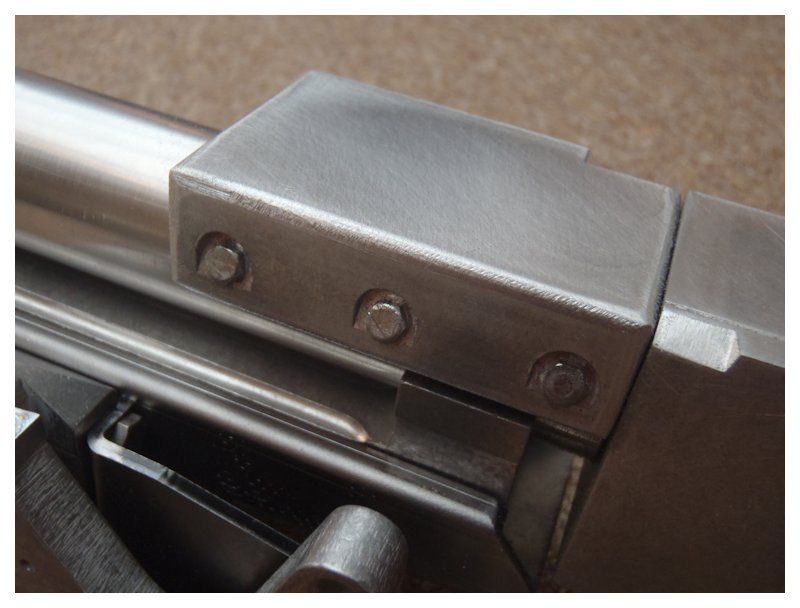
I've made a start on my Armortek 25 Pounder. The edges of the counter weight block have been rounded off and I will add cast texture later. Right now I want everything staying shiny :D

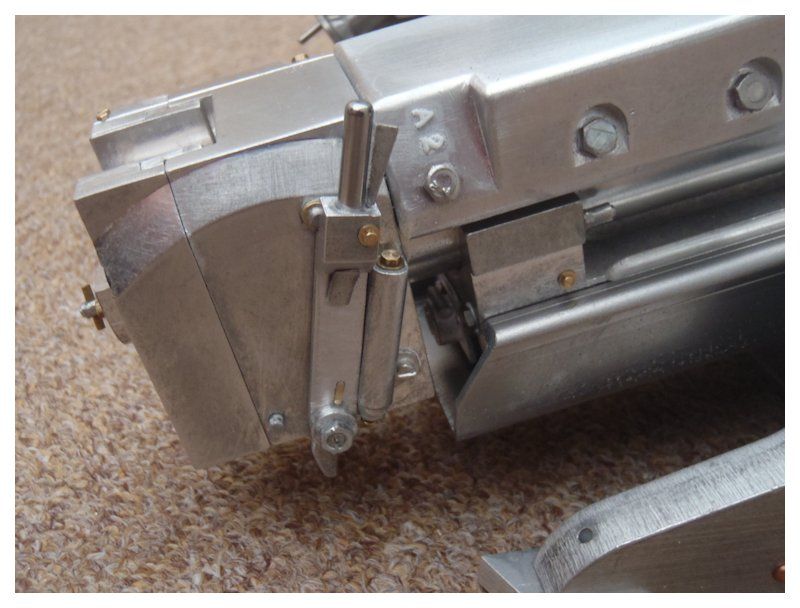
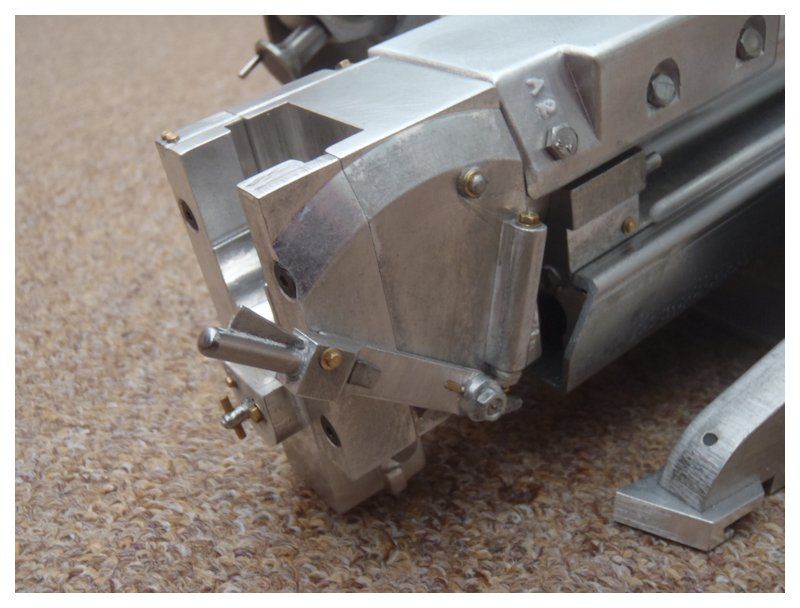
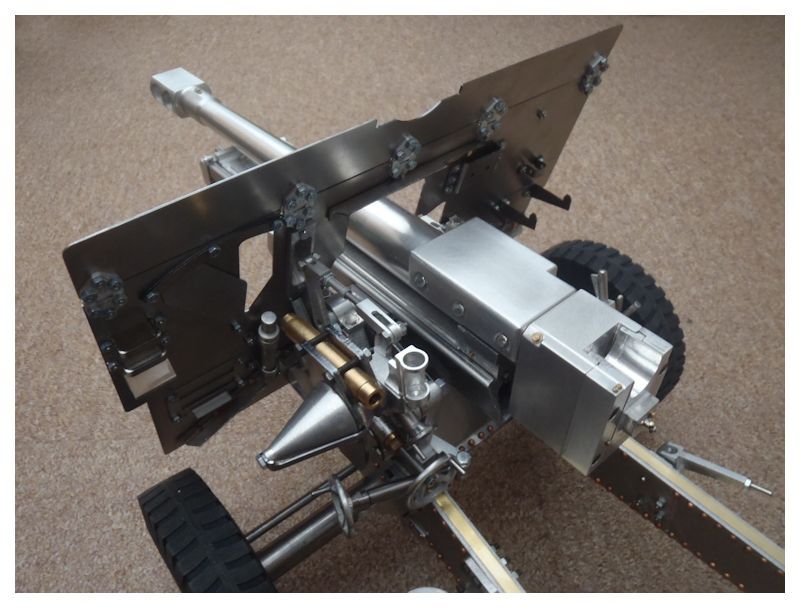
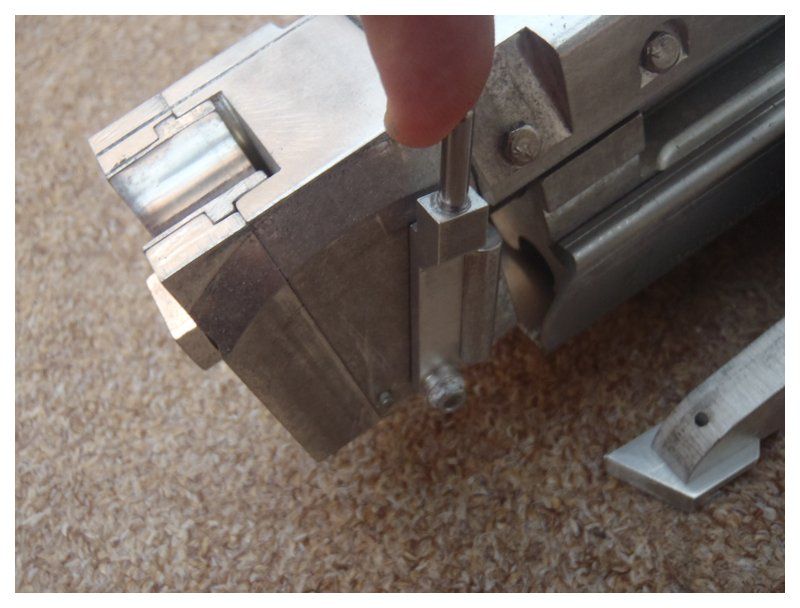
I've also filed more detail into the breach block and added a small pin to act as back stop for the Breach lever. I haven't figured how to spring load this so it stays closed yet but I am working on it.

I will be adding further small details to the breach as I progress.

Best regards

Dave

PB232842.jpg

PB232841.jpg

PB232840.jpg

PB232839.jpg

PB232838.jpg

PB232837.jpg

PB232836.jpg

PB232843.jpg
 
Hi All,

I've followed Leon's lead and reshaped the elevating wheels, I've also re-profiled the recoil slide nose casting.

I have been hanging on to all sorts of little left over parts from the old Spearhead models and these have found a use in the detailing of the nose casting and breach block. The breach handle has been detailed and lots of lubricating points and adjusters added from EKP brass bolts.

It would probably be easier to make some of the parts from plastic but I am trying to keep as much of the model in metal as possible.

I have settled for a friction lock on the breach handle and have just put the elevation mechanism together. The elevation works perfectly and I am sure the slew will also once assembled.

So far I have found my normal model making kit of needle files, scalpel, small vice and Dremel to be sufficient for most of what is shown. The only exceptions are I have used a larger engineering vice and full size files for re-profiling the breach counter weight and a full size hacksaw to modify the slide so it sits further forward over the recoil slide nose.

The Dremel is not proving up to the job of drilling the recoil slide for the bolts I want to add so that will have to be done with a pillar drill.

Best regards

Dave

PB242858.jpg

PB242856.jpg

PB242855.jpg

PB242854.jpg

PB242853.jpg

PB242852.jpg

PB242850.jpg

PB242848.jpg

PB242846.jpg

PB242845.jpg
 
Hi All,

Although I am adding a few small additions the kit build continues pretty well straight from the box. I will probably add and tweak a few parts once done but want to show what can be done straight from the box with very minor extras.

I've added two extension springs under the main slide to keep it forward but still allow it to be drawn back. These are fixed to a curtain wire hook drilled and screwed into the front nose block and a rivet either side drilled and glued into the slide itself.

The rear bars have been cut in the middle then sleeved with K&S aluminum tube to better represent the full size pieces. I've also added a little K&S tubing to the sight connecting rod to improve its look.

I have started on the front shield and have used the 2.5 dome head screws and rivets supplied as per the kit instructions. The rivets are soft copper and its the first time in over 30 years my old riveting hammer and snaps have come out!

I will probably add a few more rivets and tie downs to the front shield but to be fair it looks pretty good just as it is.

Best regards

Dave

PB302874.jpg

PB302873.jpg

PB302872.jpg

PB302871.jpg

PB302870.jpg

PB302869.jpg

PB302868.jpg

PB302867.jpg

PB302866.jpg
 
Hi All,

Rather than add side plates I've added 1/4" brass strip to the top of the rails to represent the various plate joints. I needed to raise the level to match the kit rear plate for the extra angles to sit right, that will be added later around this area.

Front shield assembly is finished and I've added the brake parts. The brake lever has again been detailed with odd off cuts of old white metal parts and K&S aluminum tube.

I have not figured out yet how to make the big curved angle to go round the joint between the side frames and rear plate which is why this area has not yet been riveted.

Best regards

Dave

PC012875pb.jpg

PC012876pb.jpg

PC012877pb.jpg

PC012878pb.jpg

PC012879pb.jpg

PC012880pb.jpg
 
Tremendous job Dave! I can't wait for your next installment. I'm so impressed by this kit that I've ordered one myself.

Phil
 
Hi Phil,

I am sure you will enjoy it. I am trying to build the kit as near to its original form as I can but you know I can't resist the odd tweak.

The resin sight bag, holster etc cleaned and added, think I know where they came from :wink:

I've used the sanding wheel in the Dremel and rounded off the towing eye.

Best regards

Dave

PC012881pb.jpg

PC012882pb.jpg

PC012883pb.jpg

PC012884pb.jpg

PC012885pb.jpg
 
Hi All,

I've started fabricating the masters for the various angles around the rear of the trail. Not sure yet whether these are going to be resin or metal.

Best regards

Dave

PC042887.jpg

PC042886.jpg
 
Hi All,

Making the various detail angles is going to take a while. I've had enough for tonight of drilling holes and cutting down the dummy rivets. 4 of the rivets are not dummies and will use 4 of the rivets supplied in the kit to locate the angle.

Best regards

Dave

PC052888.jpg
 
Back
Top